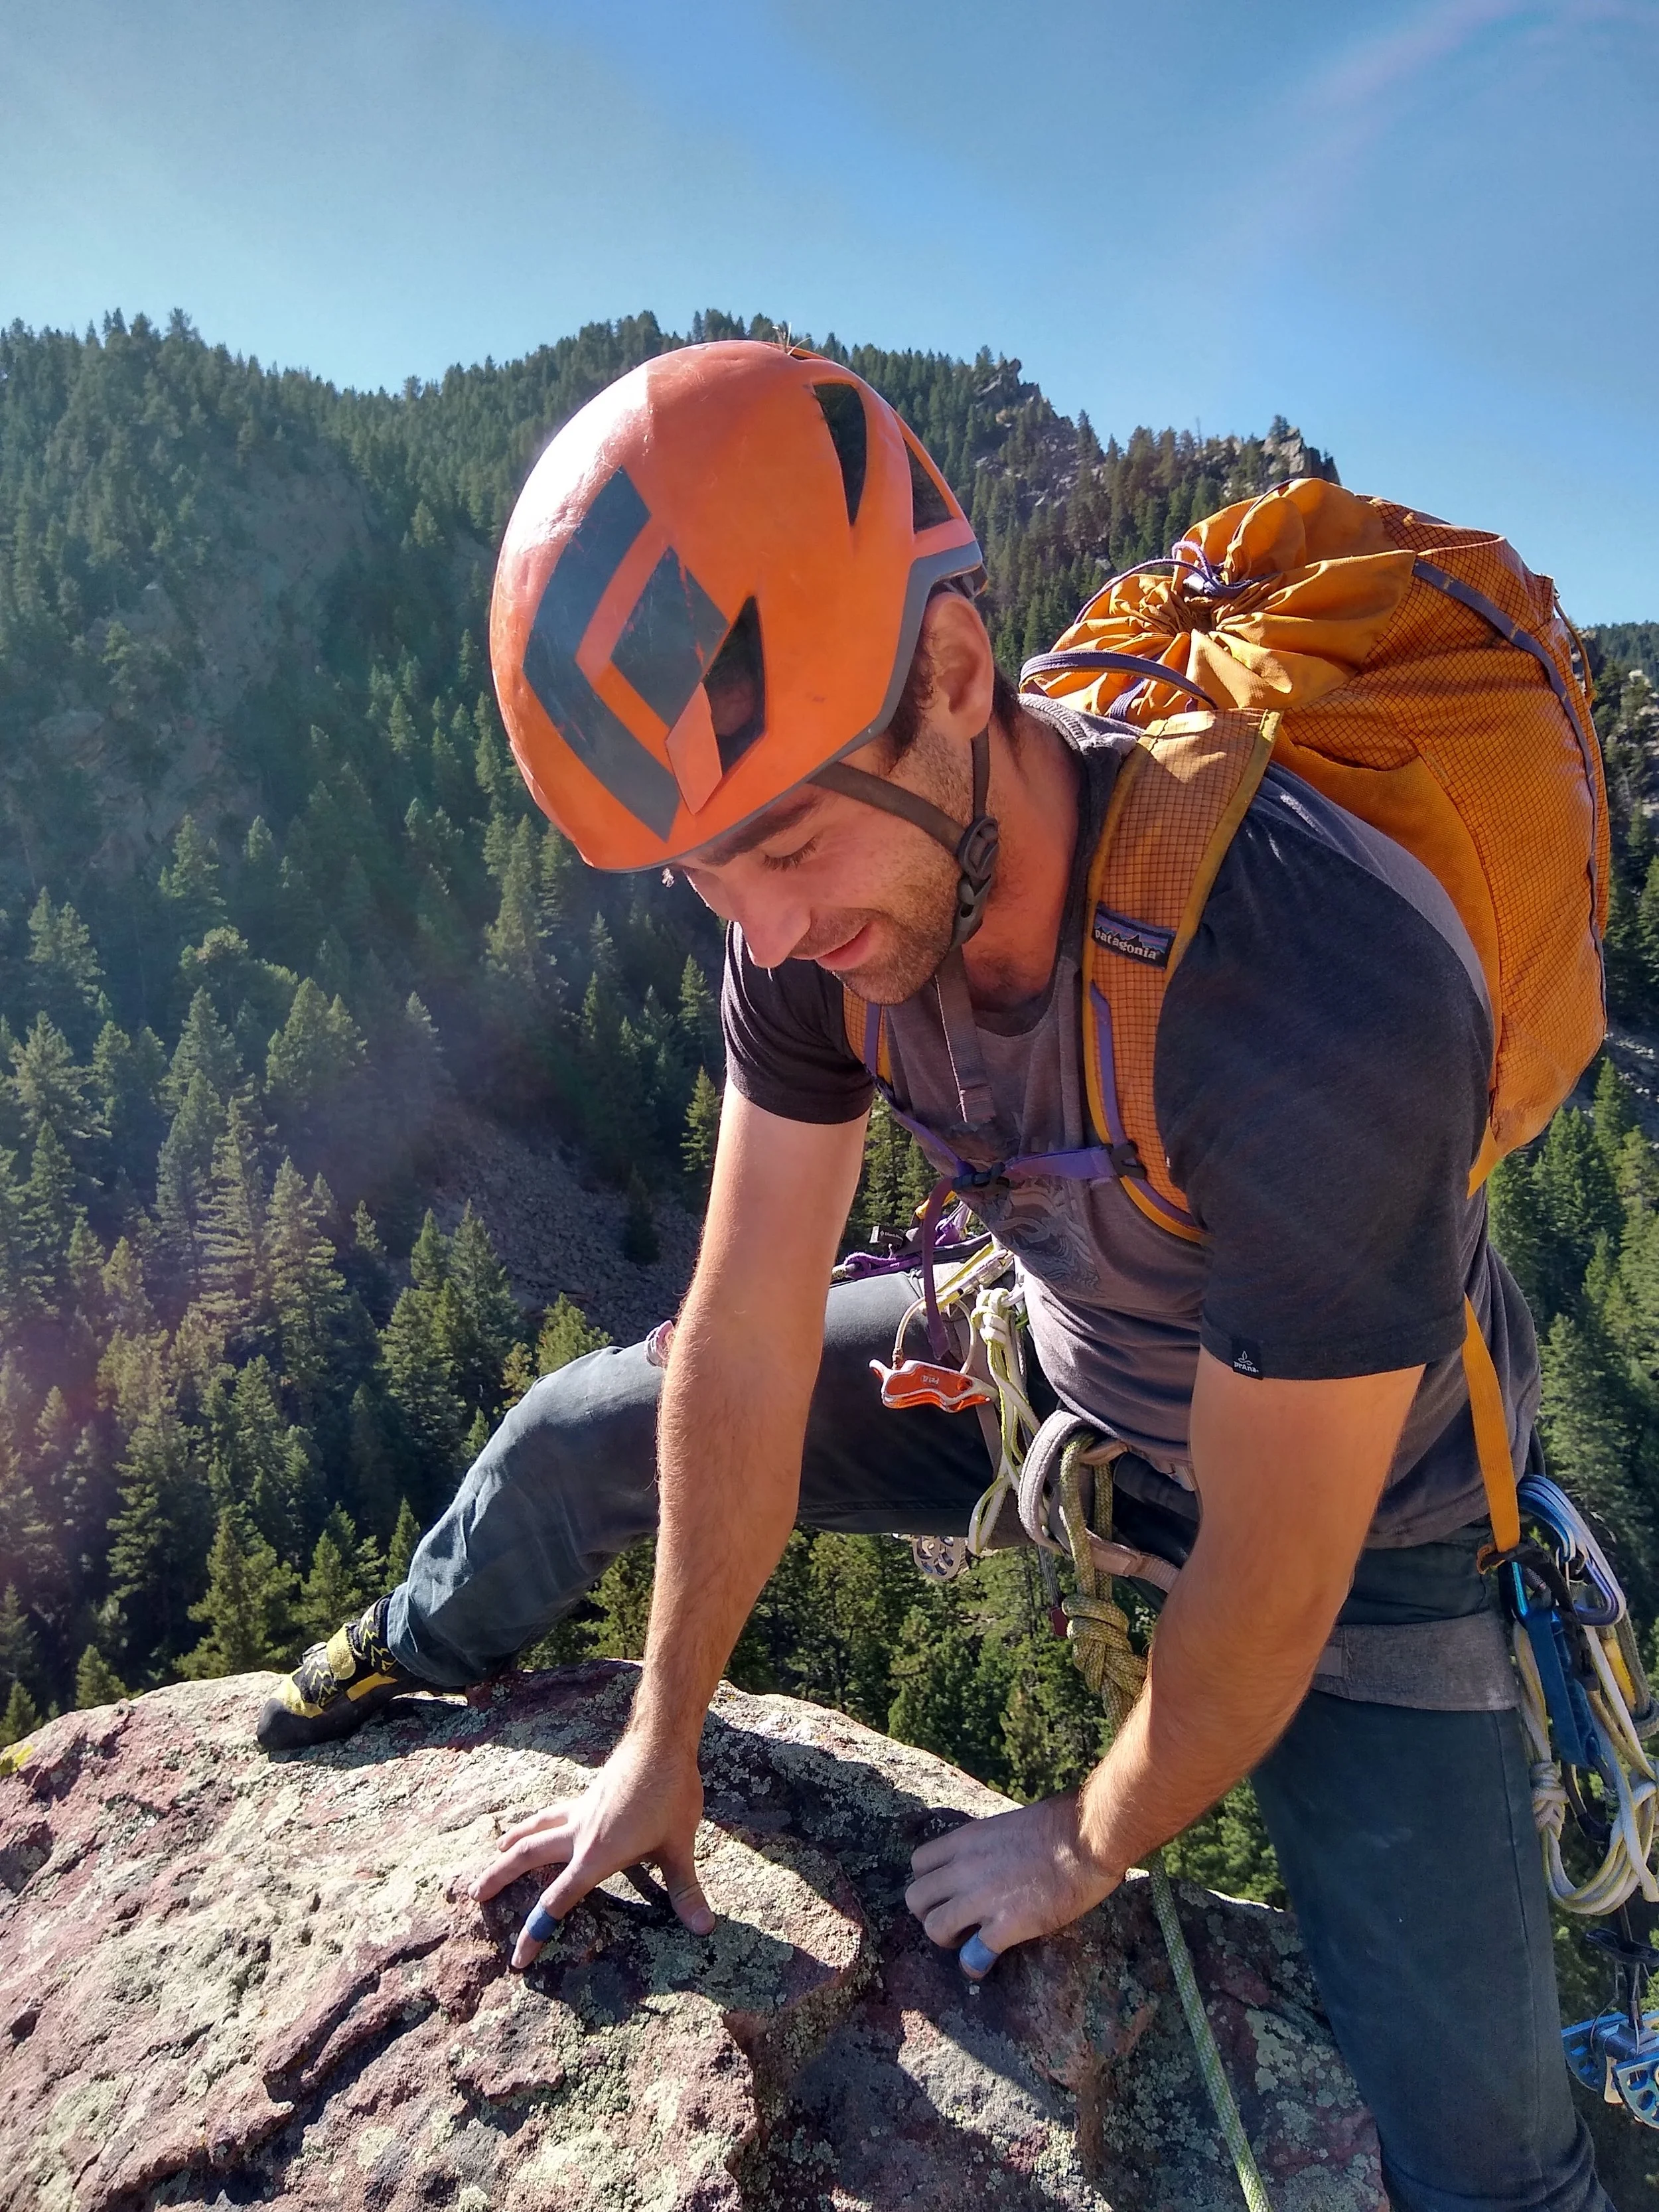
Intro to Outdoor Climbing
Welcome to lesson 6 of your outdoor rock climbing journey! You’ve got knots, gear, belaying with a Petzl GriGri, and partner safety checks dialed in. Now, it’s time to learn how to move on real rock. Outdoor climbing feels different from the gym, with natural holds and varied terrain. This lesson covers using your legs to generate movement, arms for balance, and the basics of wall angles, hold types, and climbing styles (dynamic vs. static). Let’s climb smarter and harder!
Using Your Legs: Your Body’s Powerhouse
Your legs are the strongest muscles in your body, so rely on them to do the heavy lifting:
Push more, Pull less: Use your legs to push your body up the rock, rather than pulling with your arms. Think of your legs as driving the movement, if you can’t reach a hold, look for a foot.
Find Good Foot Holds: Look for edges, or bumps to place your feet securely. Press down with your toes or the ball of your foot for maximum grip. Look for foot holds more than you look for hand holds.
Try to take small Steps: Big, lunging steps tire you out and can throw you off balance. Big steps are the same as doing Pistol Squats (Hard!)
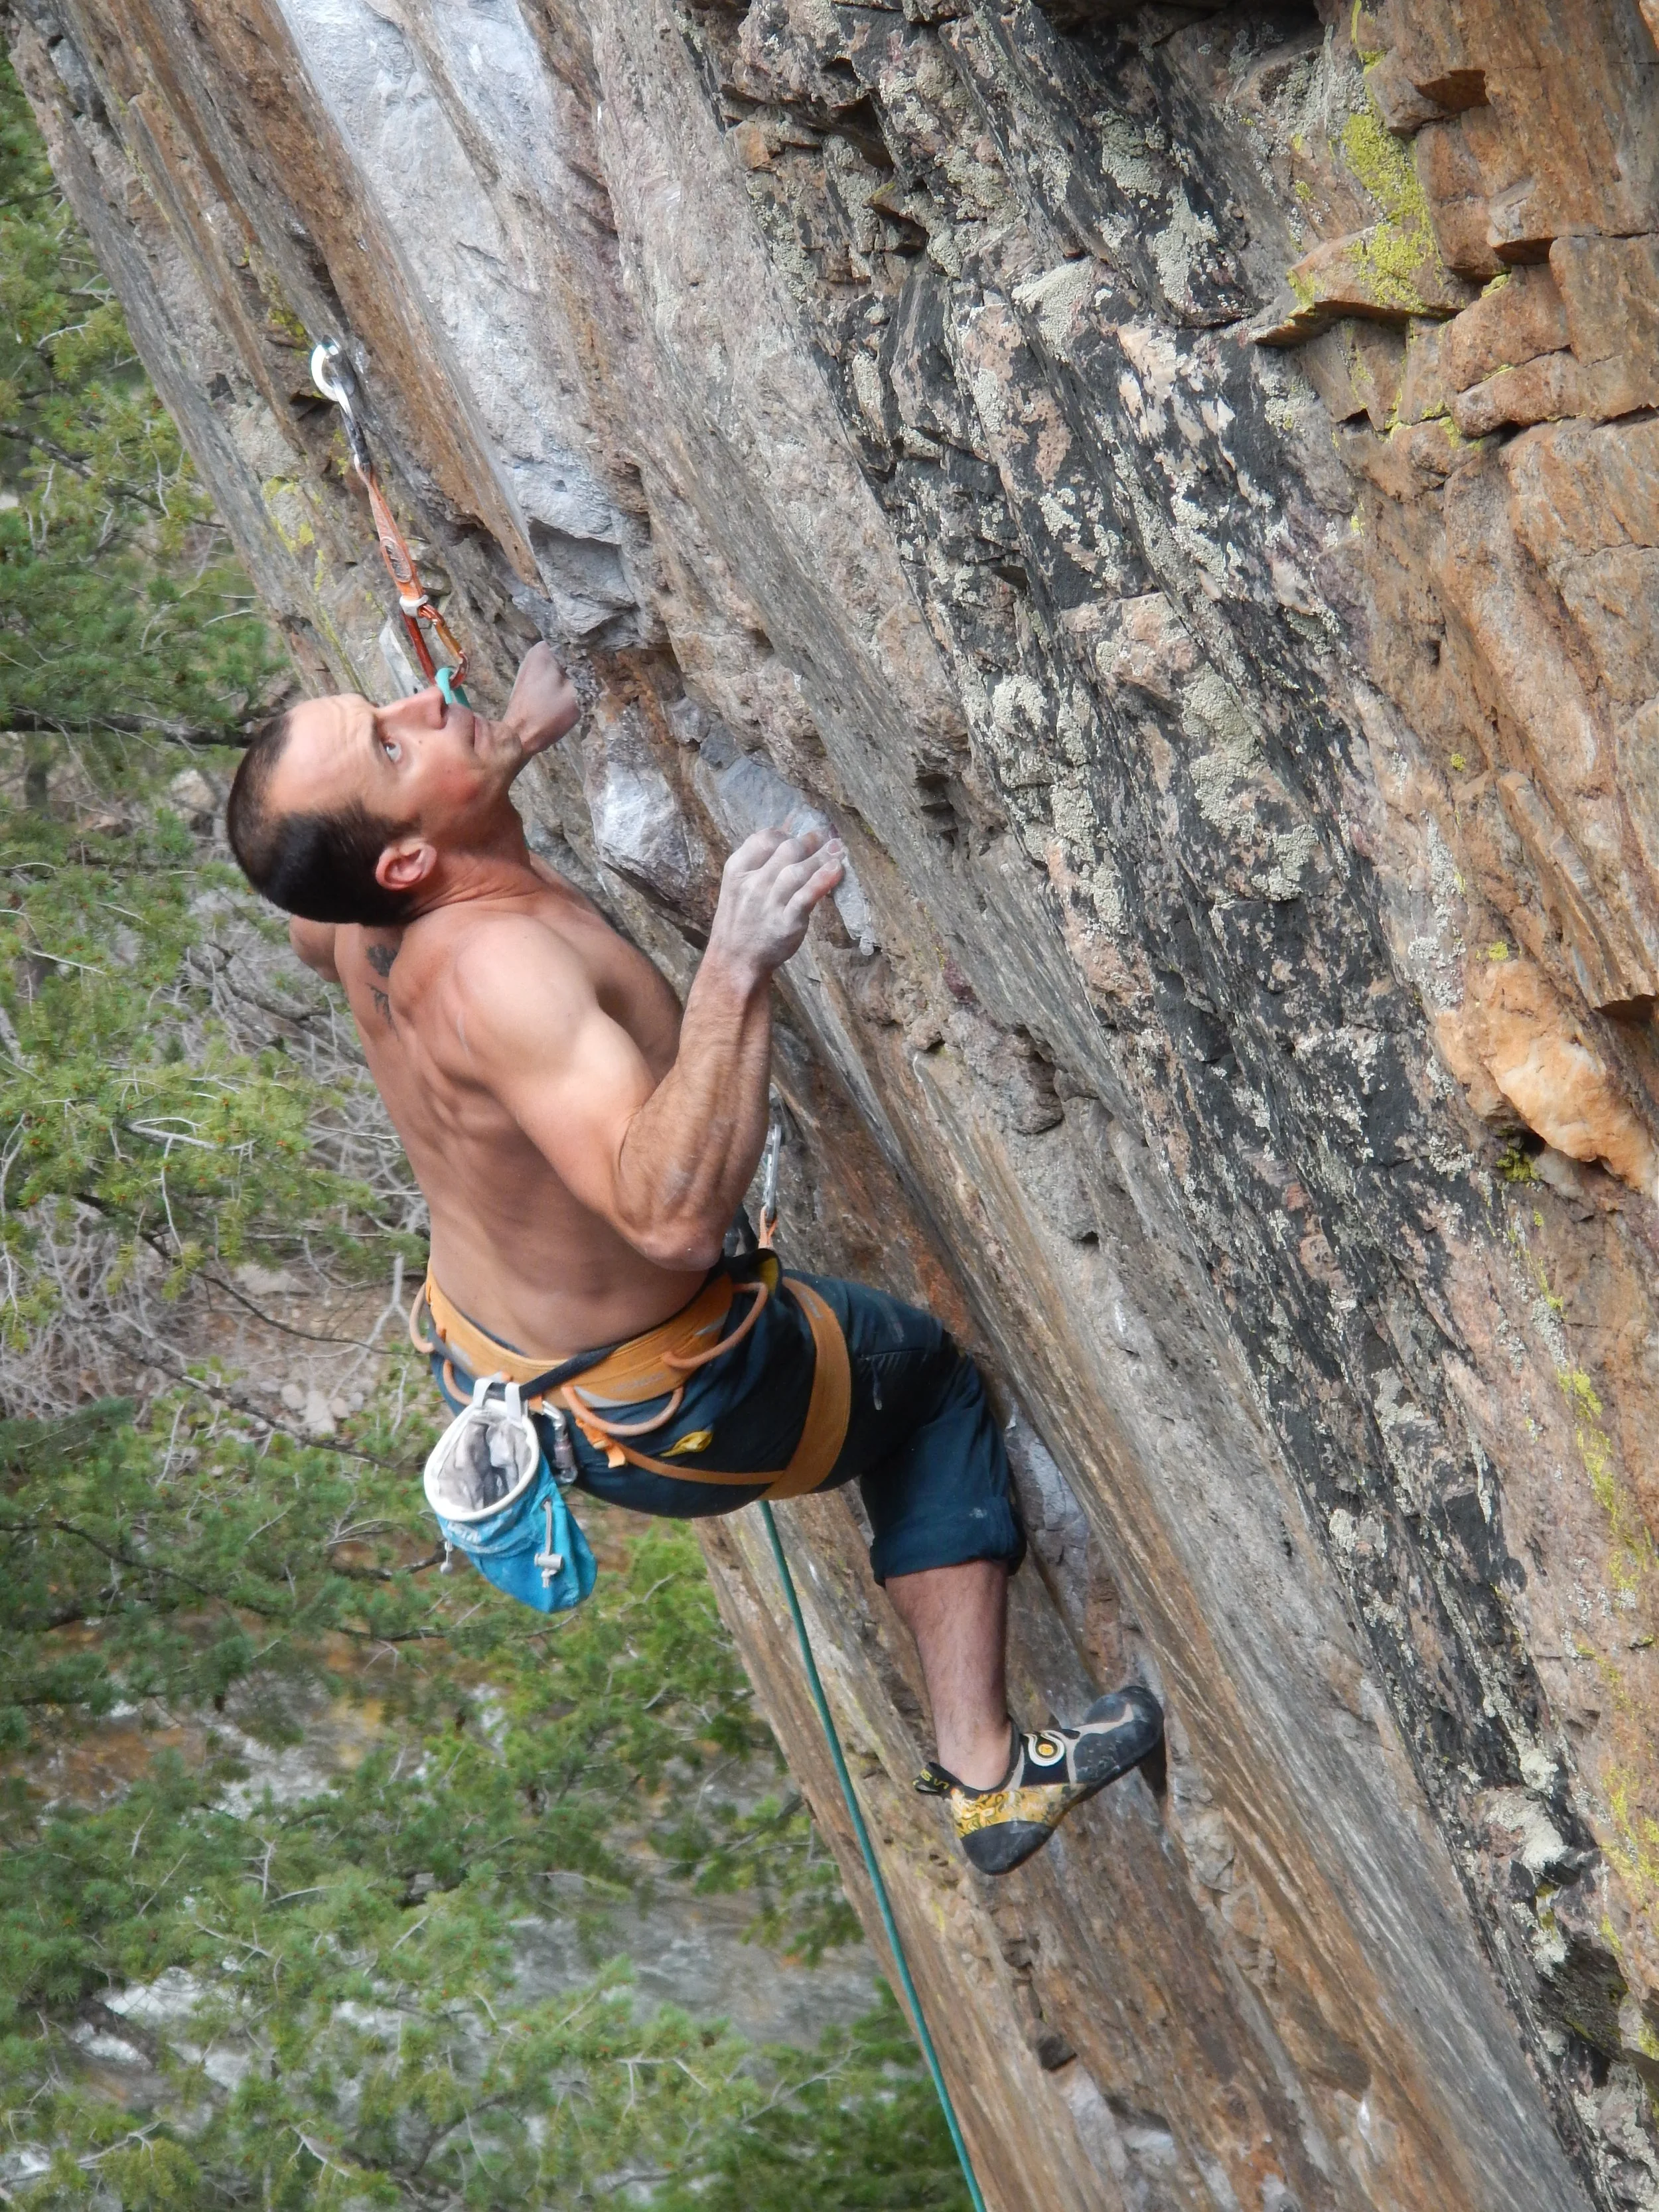
Basic Wall Angles
Outdoor rock comes in different angles, each affecting how you climb:
Slab (Less than 90°): Leans slightly, like a ramp. Use your feet to “smear” on the rock with friction, keeping your body upright. Think like you stepped in dog poop and are smearing it off your shoe onto the wall.
Vertical (90°): Straight up. Requires precise footwork and balance, with arms for stability. Common in beginner routes. Best when hips are close to the wall and over your feet.
Overhang (More than 90°): Leans past vertical. Demands more arm strength and core engagement.
Tip: Start with slab or vertical routes (5.4–5.6) to practice technique without overexertion.
Transferring Weight with Your Hips
Your hips are the key to smooth, efficient movement:
Center of Gravity: Your hips are your body’s center. Move them over your feet to stay balanced.
Hip Shifting: To transfer weight from one foot to another, shift your hips toward the new foot hold. For example, if stepping with your right foot, move your hips right to align your weight over it. You should feel your left foot becomes “free” to move.
Face the Wall: Keep your hips close to the rock to reduce arm strain. Twist your hips when reaching for a hold.
Tip: Imagine your hips “following” your feet to keep your weight centered.

Hold Types
Outdoor holds vary from gym holds. Here are common types you’ll encounter:
Edges: Flat ledges you grip with fingers or toes. Press down firmly with your big toe for secure footing.
Pockets: Holes in the rock. Fit one or two fingers or your toes inside. Use carefully to avoid finger injury.
Crimps: Small, thin edges. Grip with fingertips or toes.
Jugs: Large, easy-to-grip holds. Great for resting or building confidence.
Slopers: Rounded holds you grip with an open hand or friction. Rely on body position to stay secure.
Safety Note: Test holds for looseness before committing weight. Avoid grabbing loose or flaky rock to prevent falls or rockfall.

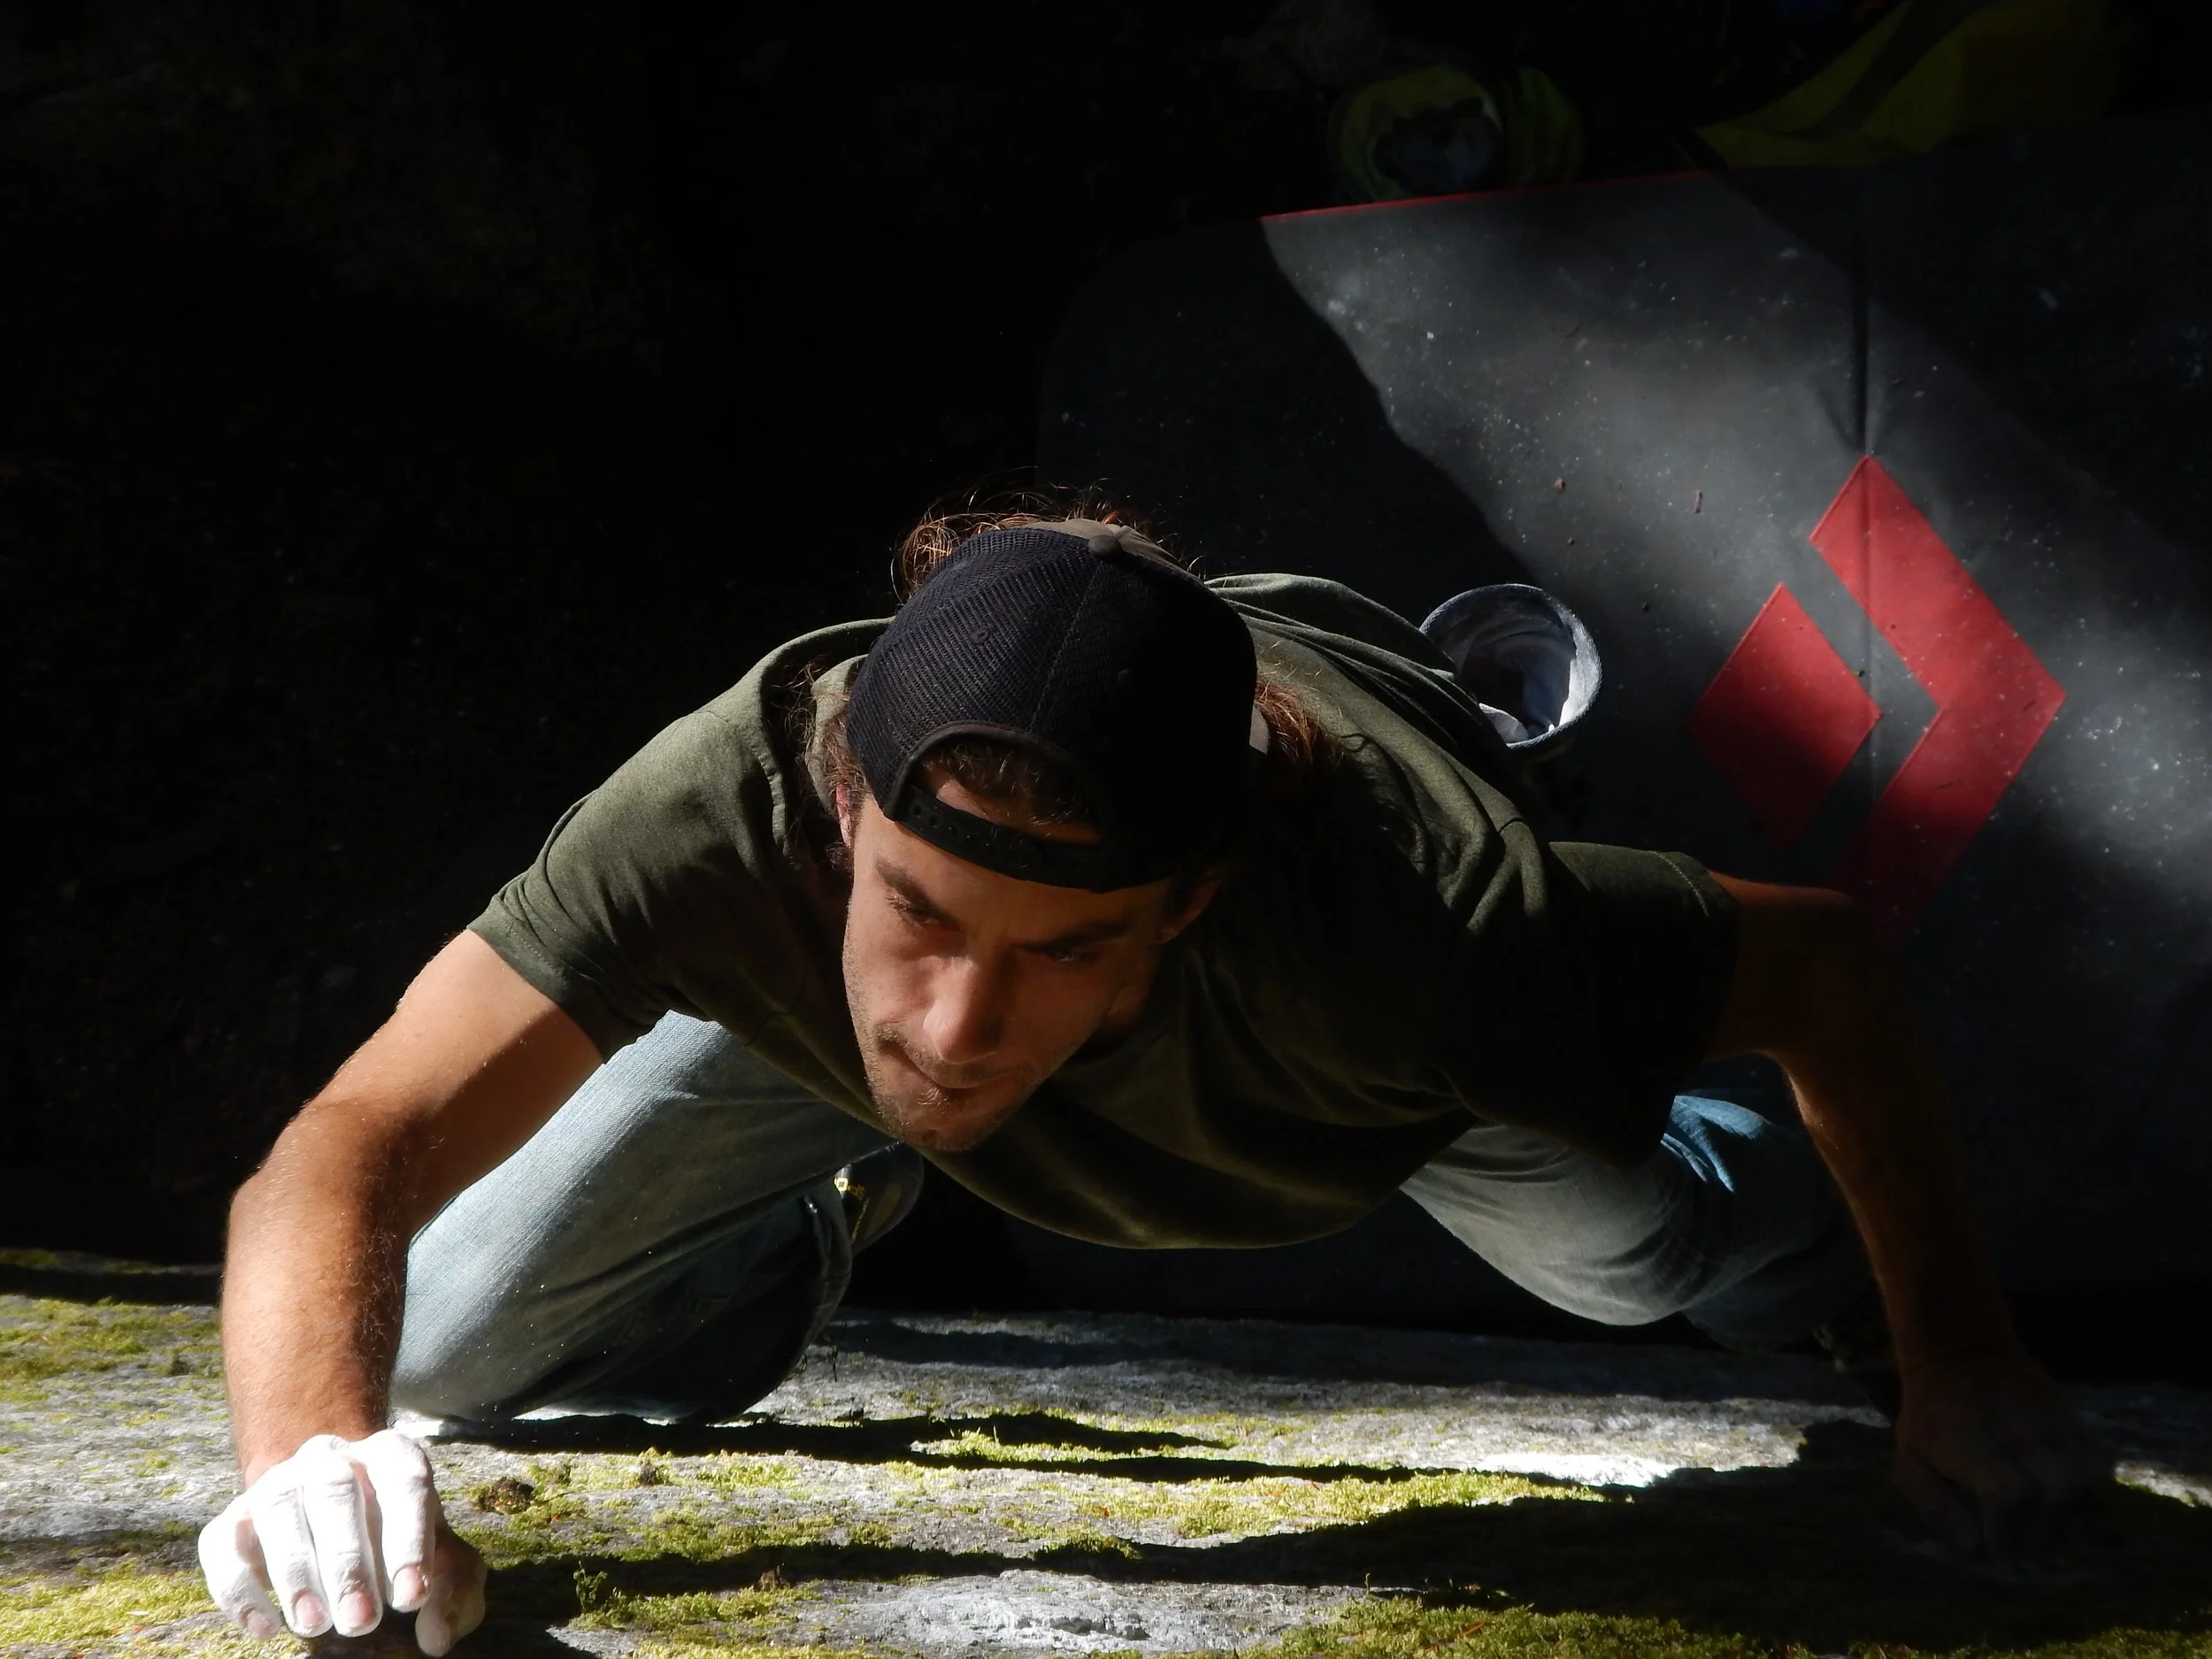
Arms for Stability, Not for Strength
Your arms are primarily used for balance and to keep your hips over your feet. We often will feel more secure to the rock when we use our arms, but will quickly tire.
Stability: Let your arms guide your balance as you shift your hips and drive upward with your legs.
Avoid Death Gripping: Don’t over-grip. A light, relaxed hold is often all you need to stay secure.
Find ways to push: Look for spots where you can press against the rock to help reposition your feet.
Tip: Challenge yourself to climb an entire route without pulling—only using your arms for balance.

Climbing Styles: Dynamic vs. Static
Climbing styles affect how you move:
Static Climbing:
Controlled, deliberate movements where you stay in balance. Often referred to as 3-points of contact.
Think of climbing like a sloth or other slow moving and deliberate climbing animal.
Dynamic Climbing:
Quick, powerful moves to reach distant holds, often with momentum.
Think of climbing like a money or fast moving “jumpy” climbing animal.
Tip: Explore both styles. Most people will have a preference, but trying both can help you become a well rounded climber.
Practical Exercise: Movement Practice
Challenge: Visit a climbing gym or a beginner-friendly outdoor crag (with supervision). Climb a slab or vertical route (5.4–5.6) using static movements. Focus on pushing with your legs, keeping arms straight, and taking small steps. Try 2–3 routes, pausing to shift your hips over each foot hold.
Hold Identification: On a gym wall or crag, identify one example of each hold type (edge, pocket, crimp, jug, sloper). Practice gripping or stepping on each, noting how your body position changes.
Reflection: Journal or discuss: How did using your legs feel compared to your arms? Were small steps easier to control? What was tricky about shifting your hips?
Safety Practice: Before climbing, test 3–5 holds by gently pressing or tapping them to check for looseness. Note any that feel unstable and avoid them.
-
More in depth YouTube video on movement, click here.